AutoRCM is an optional method of forcing your Switch to go into RCM on every launch, without the need of a jig or hardmod. Essentially, you are forcing your Switch to power on into recovery mode.
2+ Minutes
Unpatched Erista only.
After enabling you will need to inject a payload to boot your Switch after every shutdown.
What You Need
Unpatched Switch With CFW
Hekate Bootloader Folder & Payload
MicroSD Card (64GB+)
Enable AutoRCM
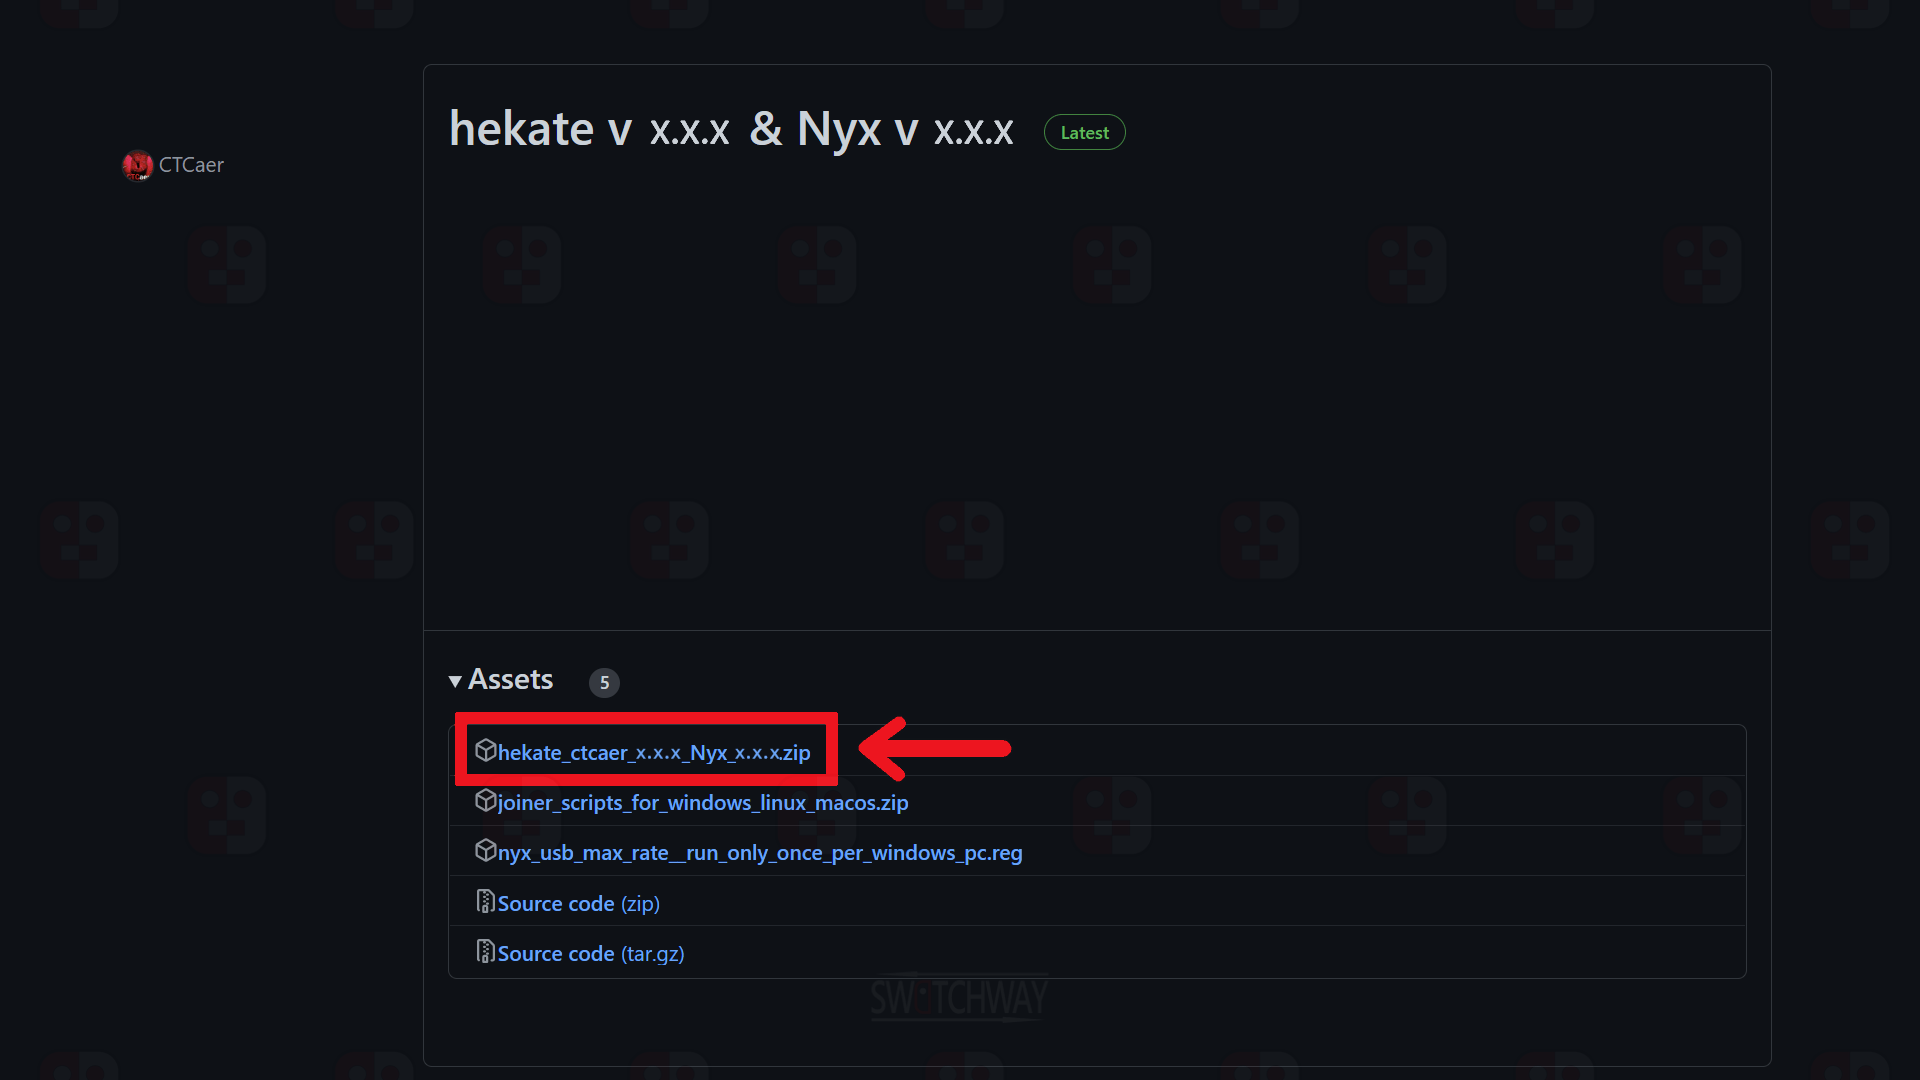
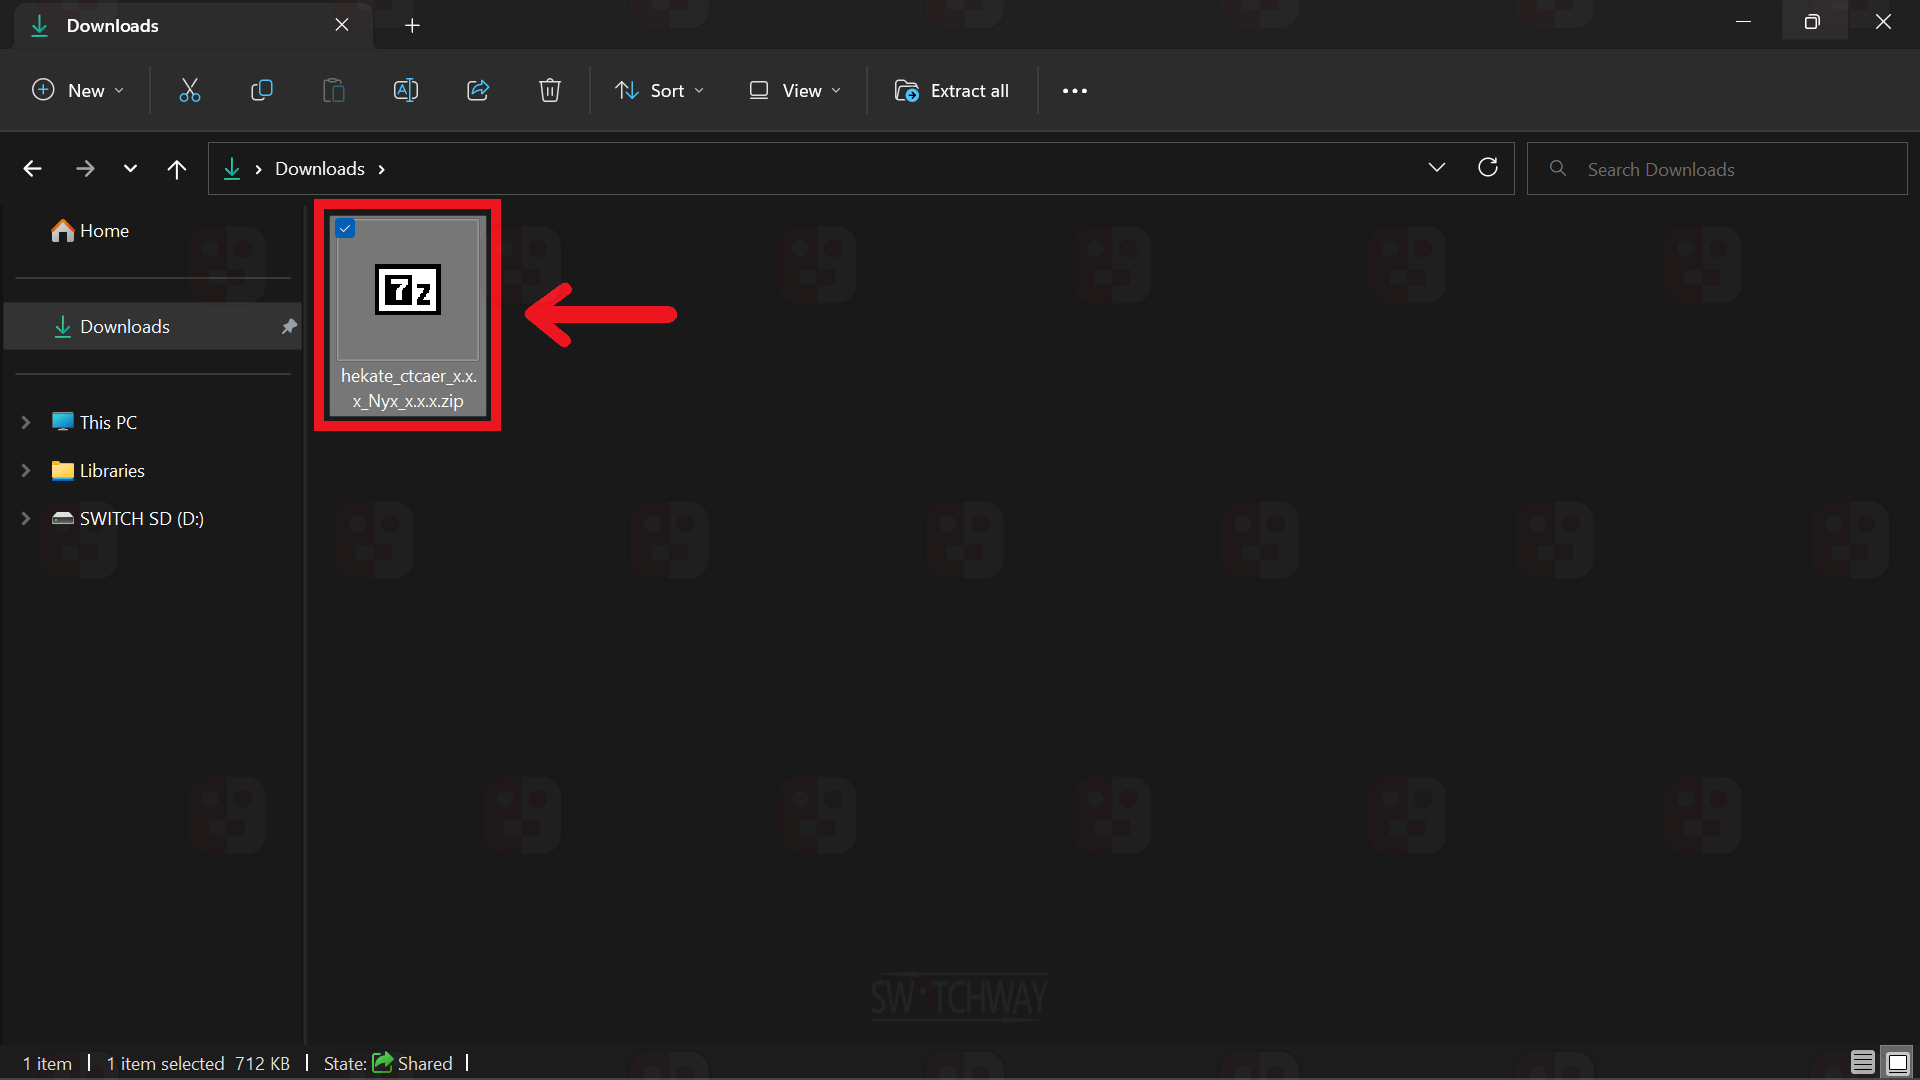
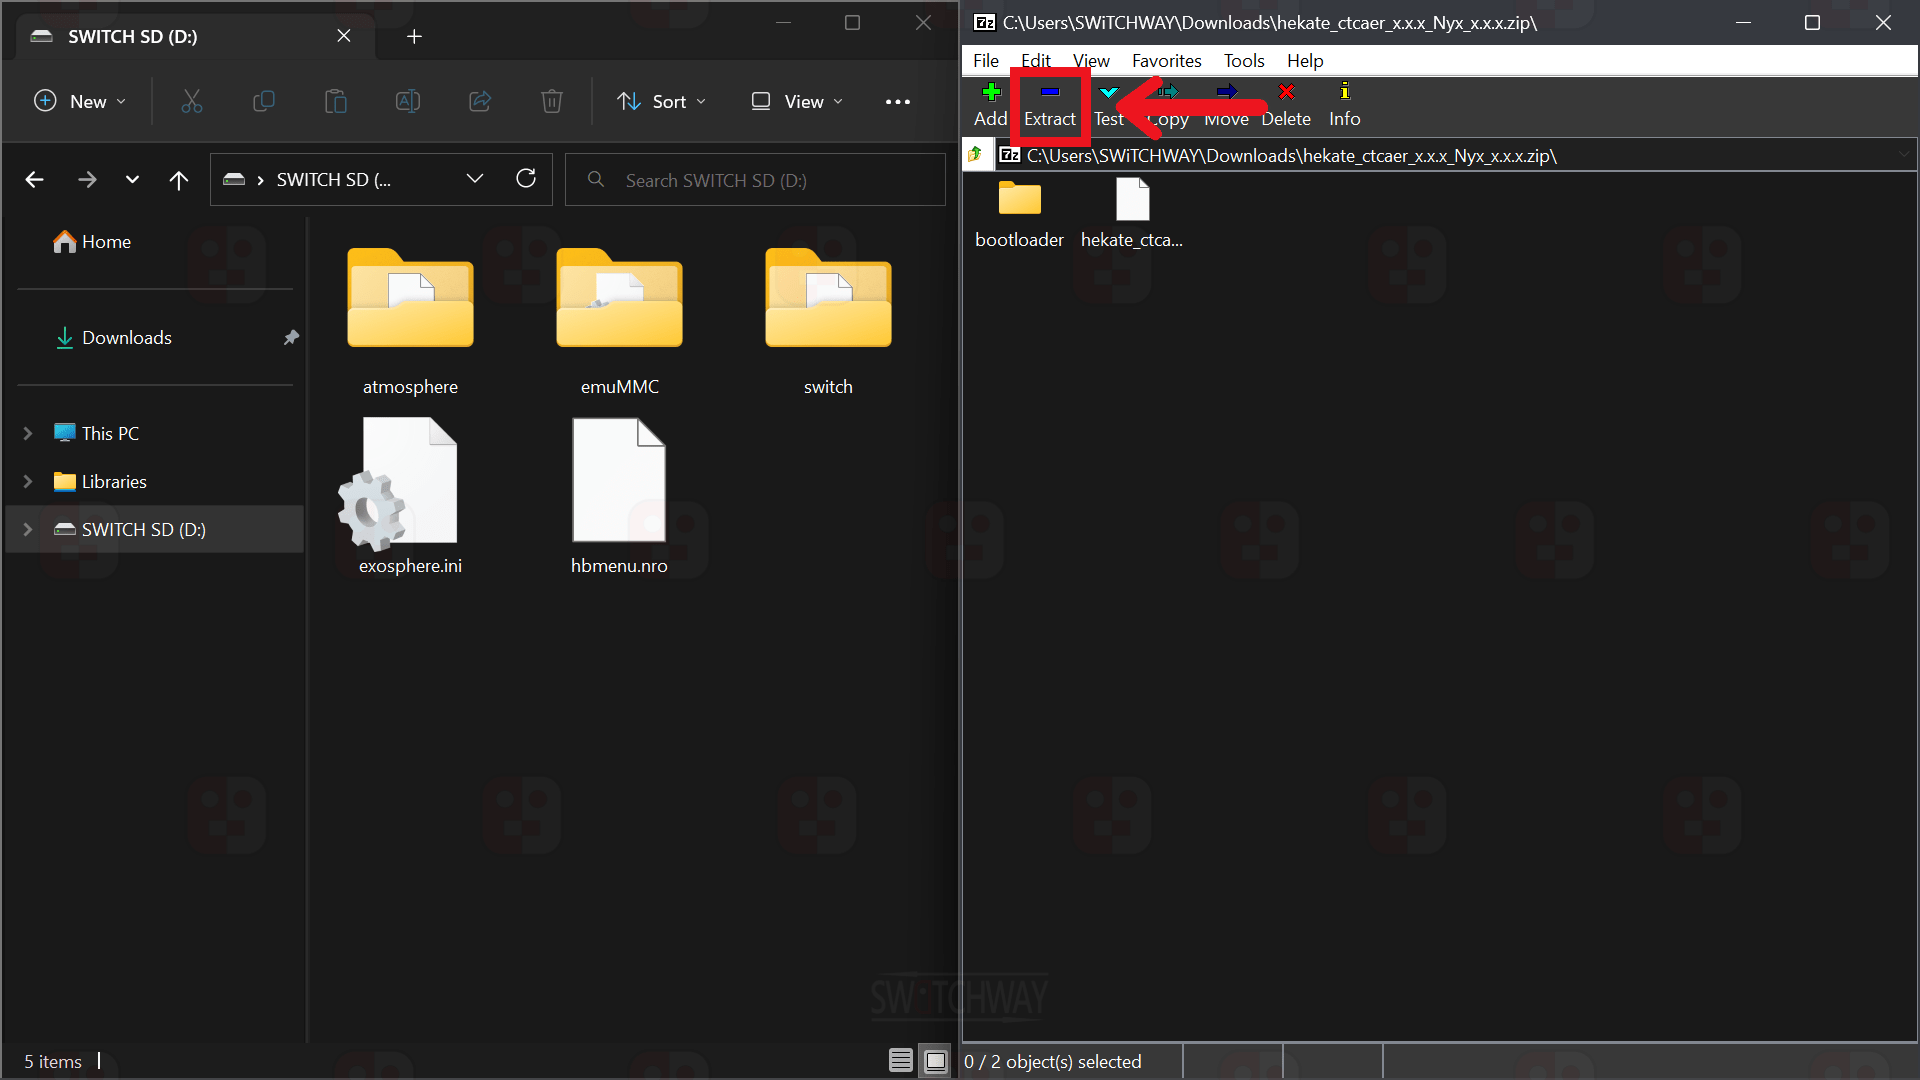
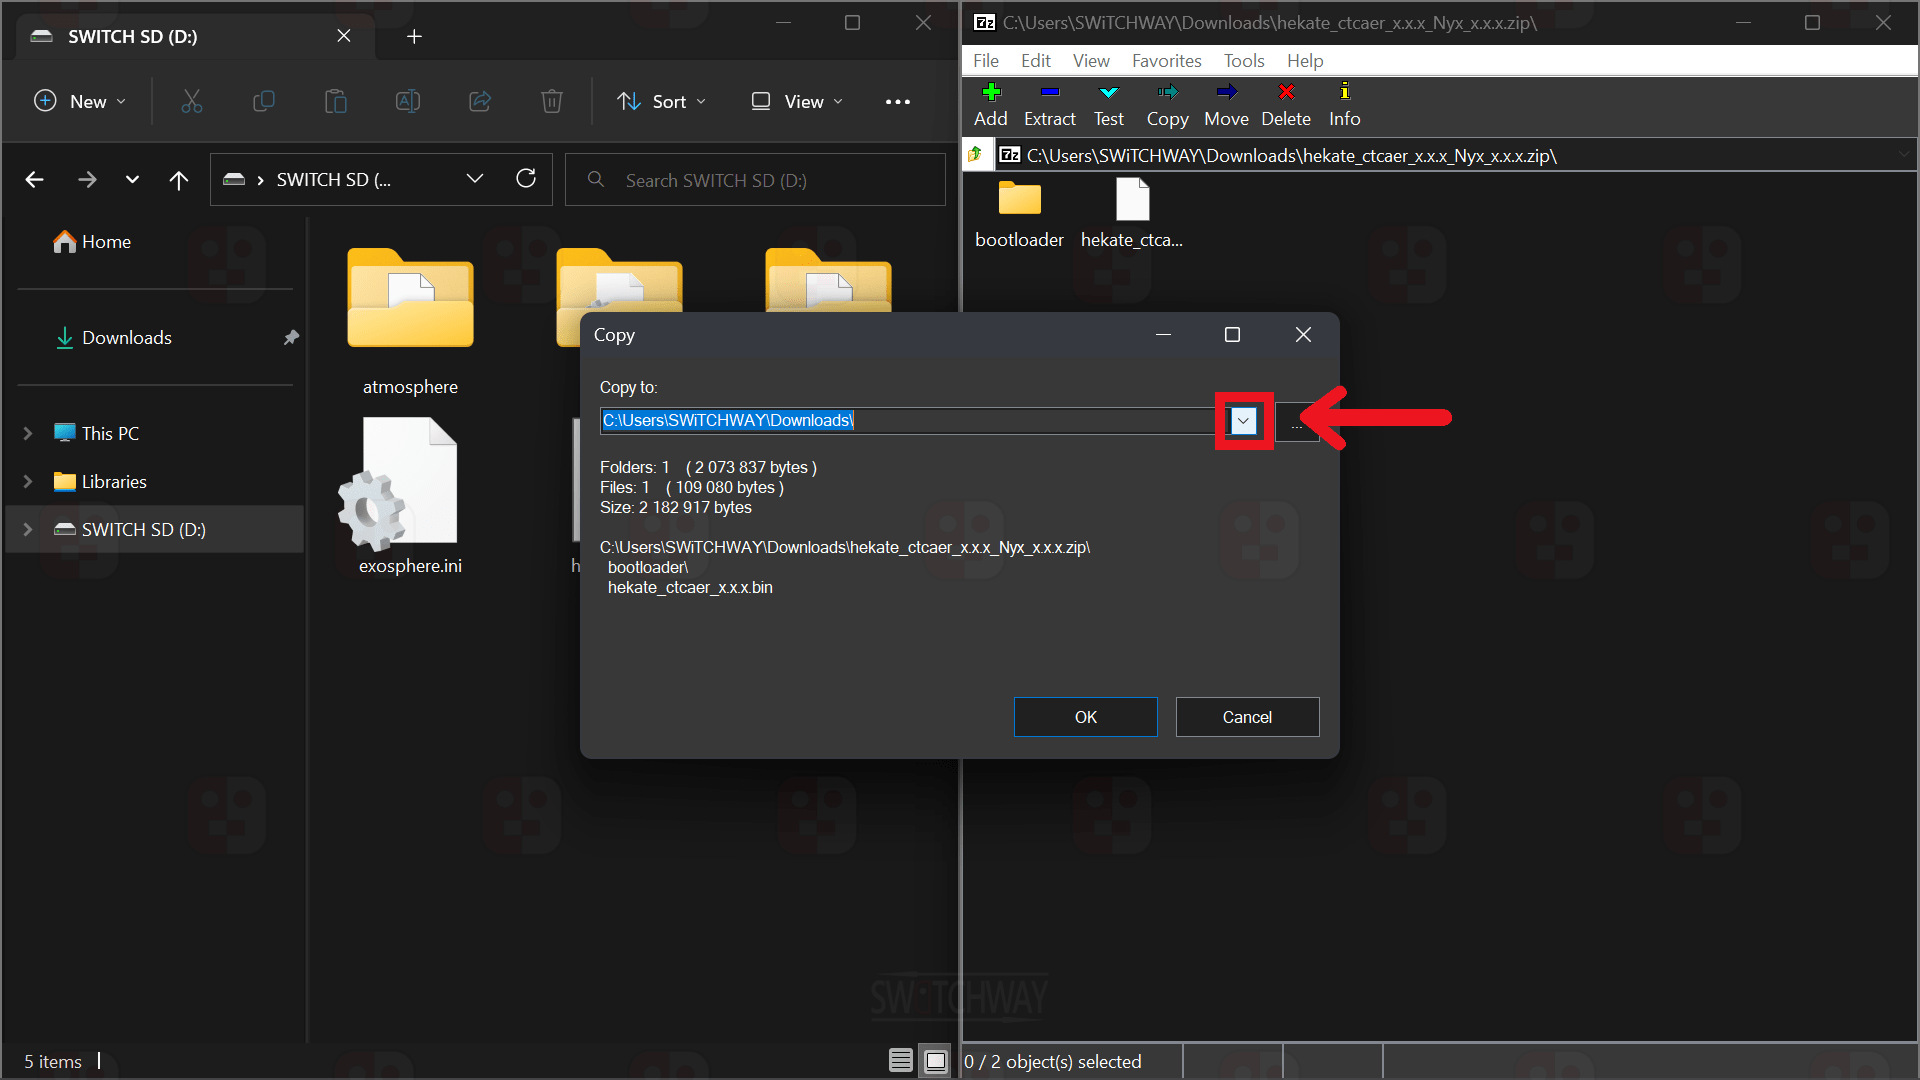
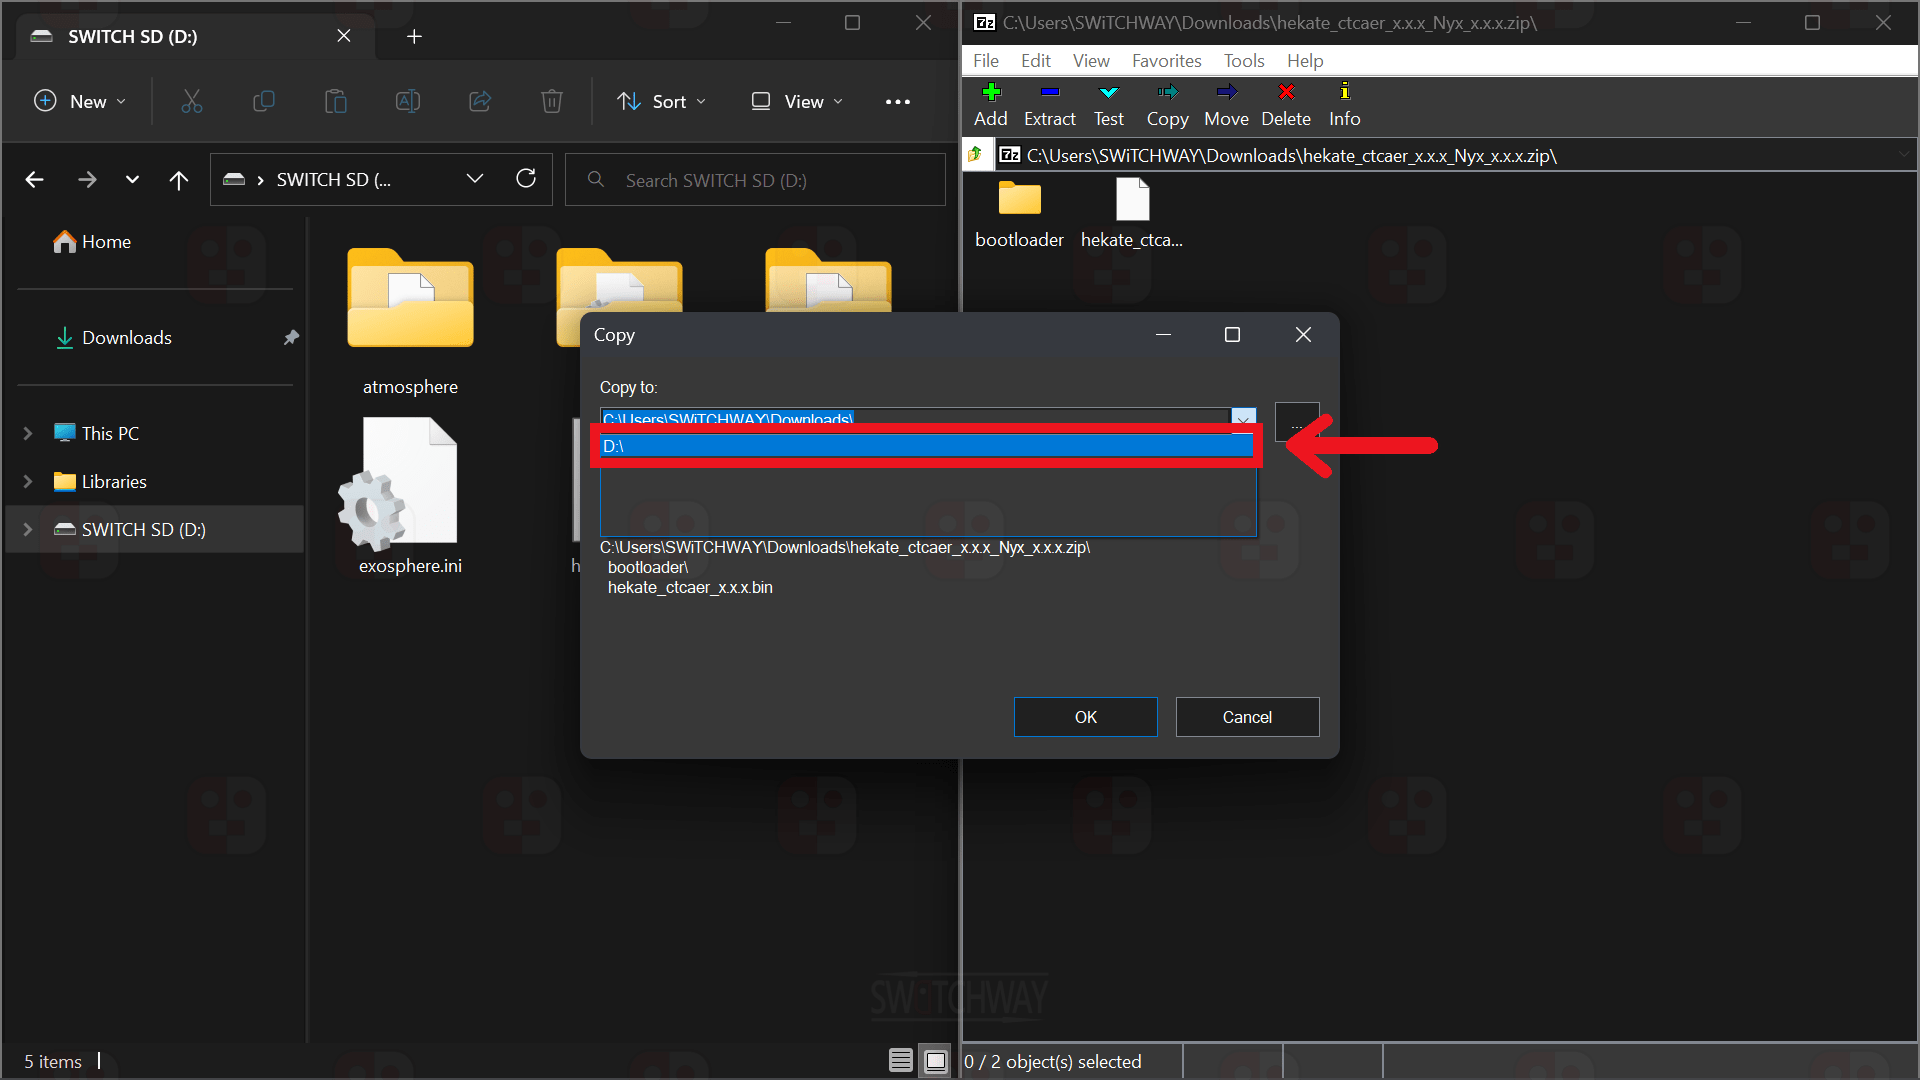
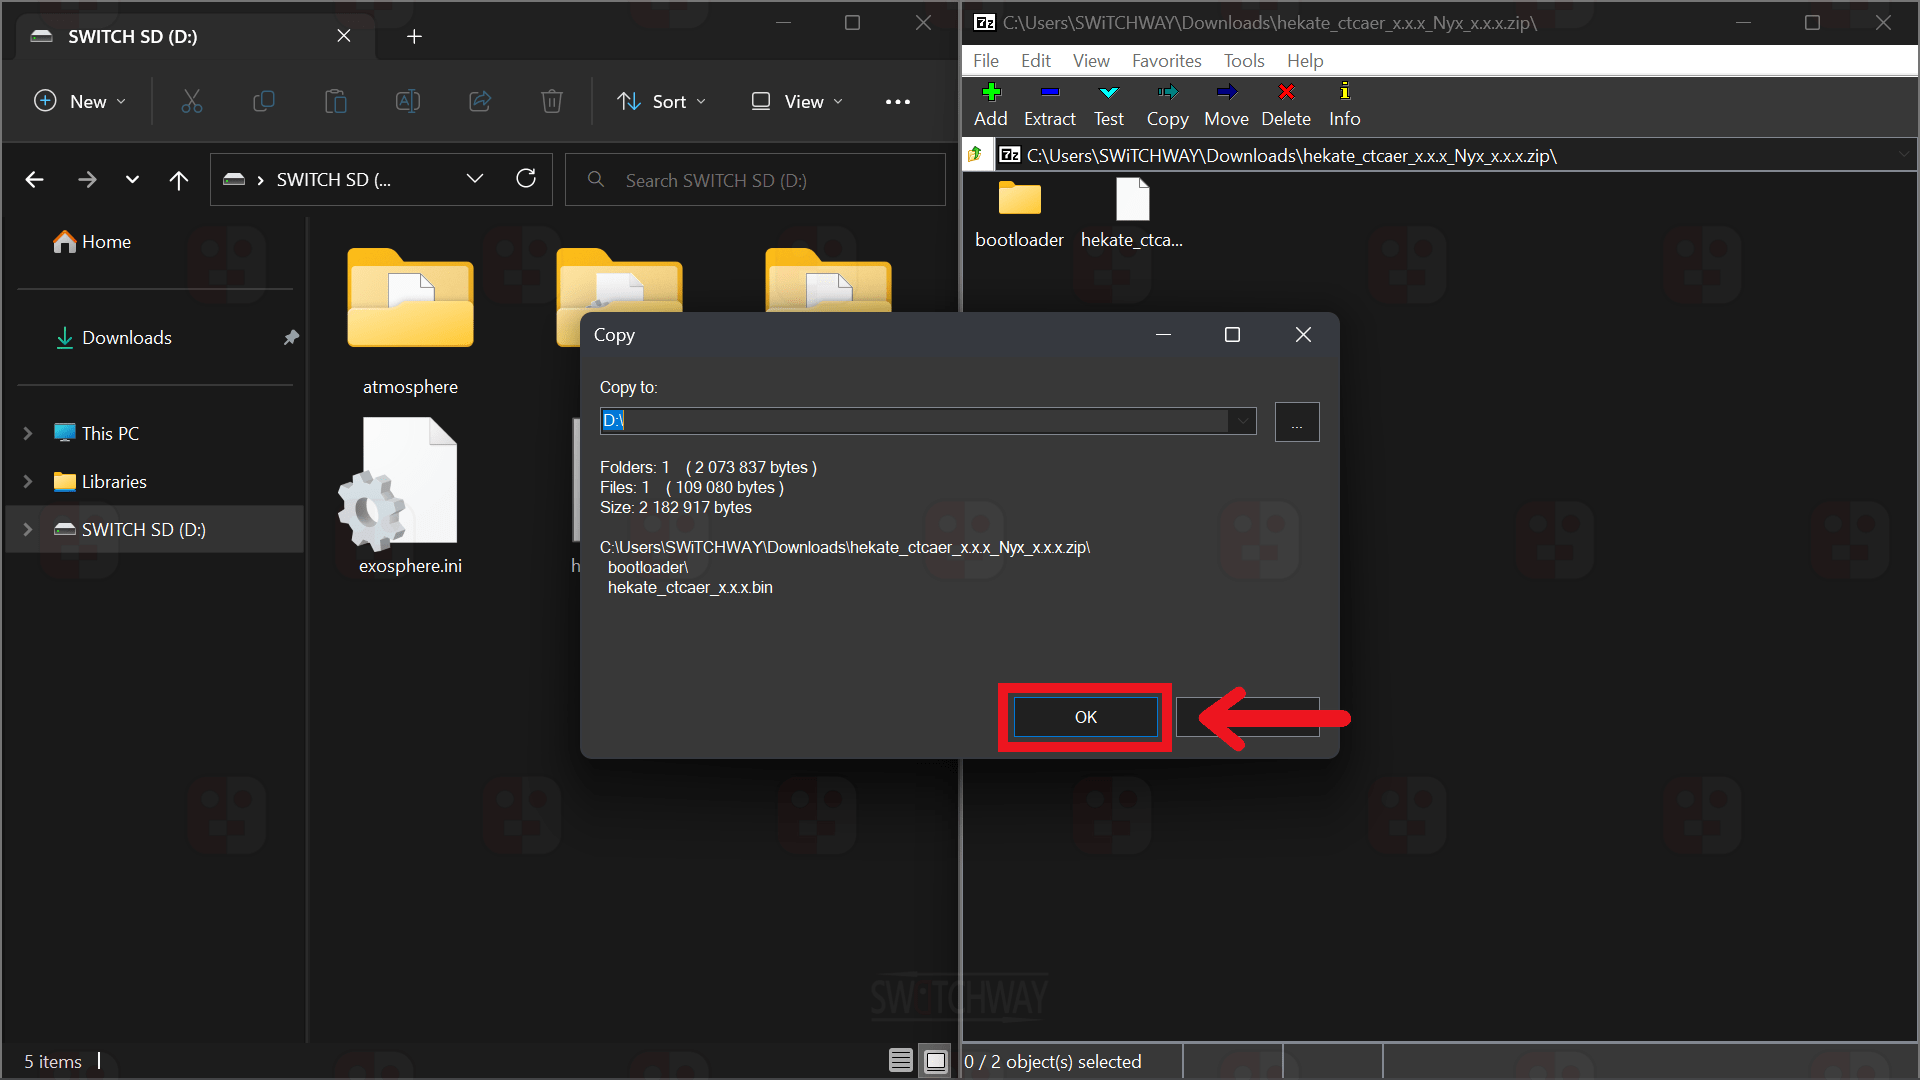
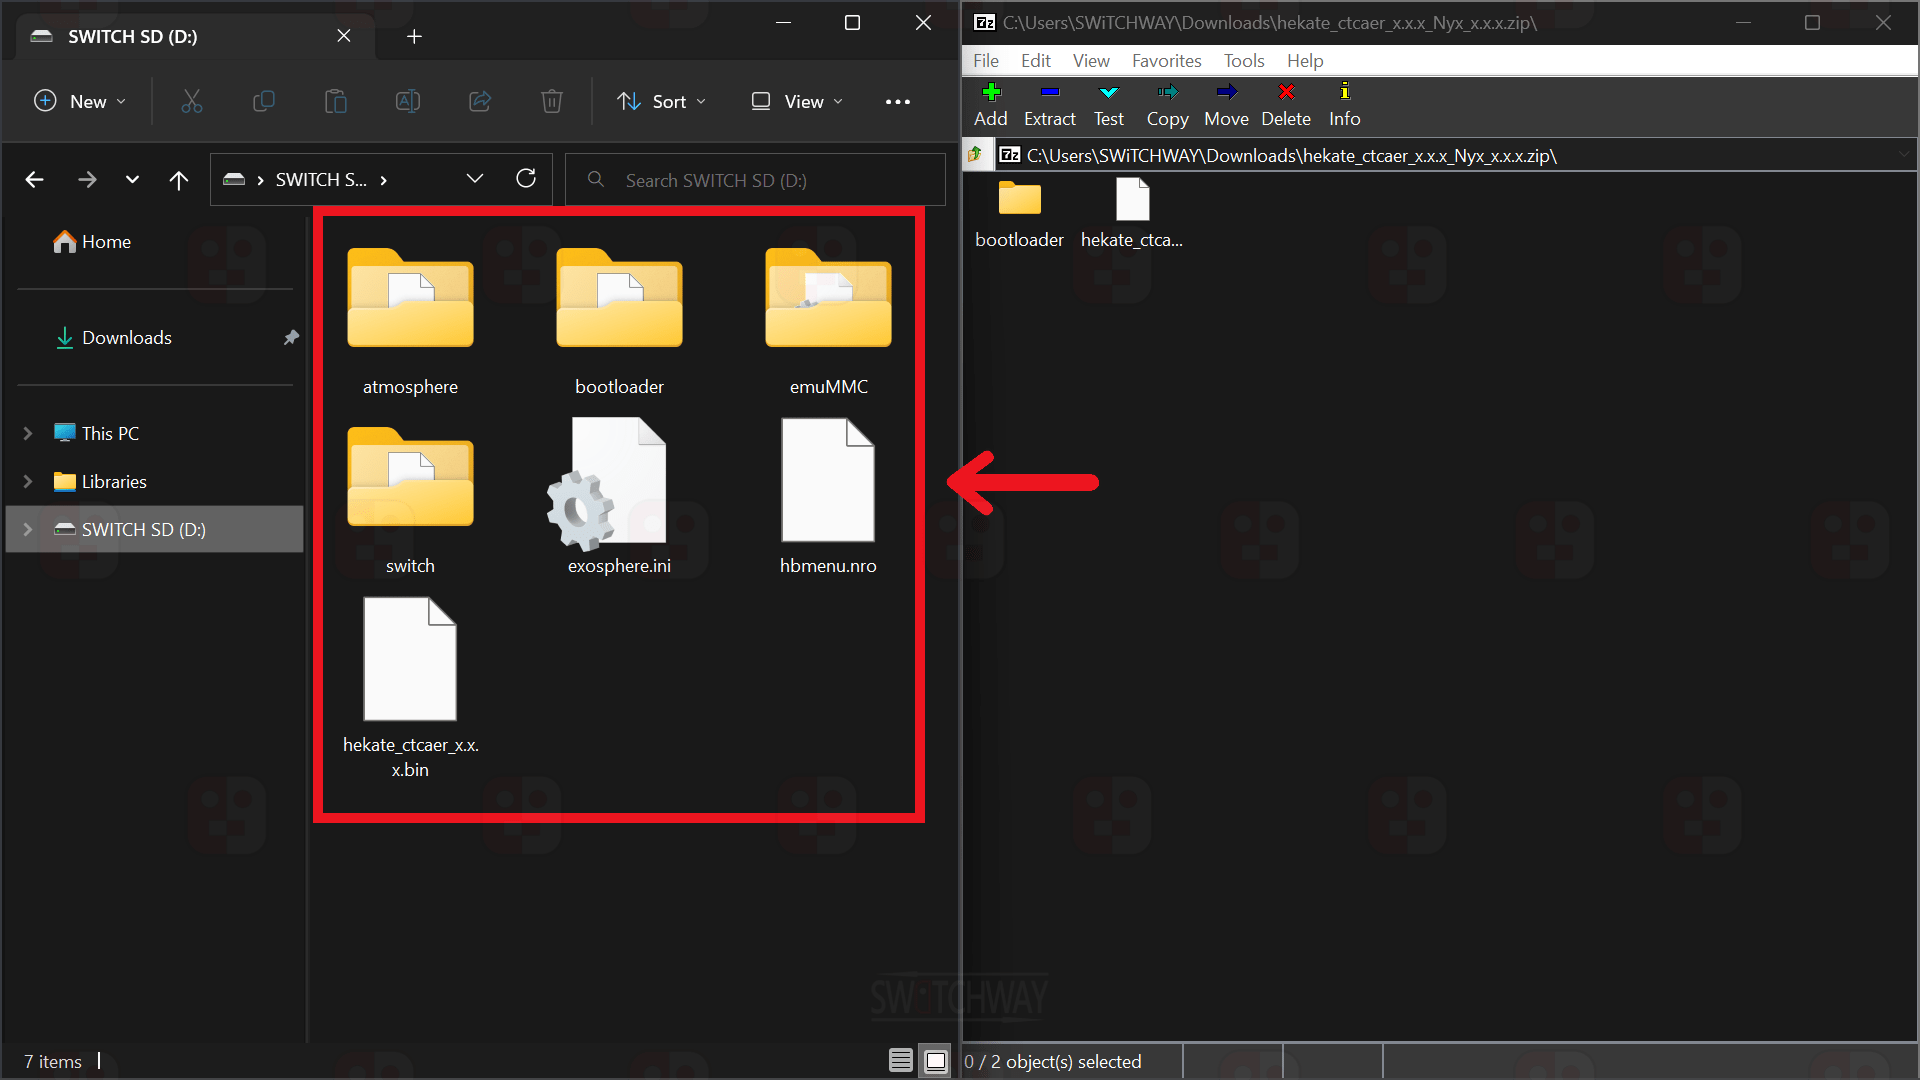
Make sure you have the Hekate bootloader folder on the root of your microSD card, and the corresponding hekate_ctcaer_x.x.x.bin payload. If you don’t have them click the link below and extract the hekate_ctcaer_x.x.x_Nyx_x.x.x.zip to the root of your microSD card.
Insert your microSD card into your Switch > put your Switch into RCM > inject the hekate_ctcaer_x.x.x.bin to boot into Hekate.
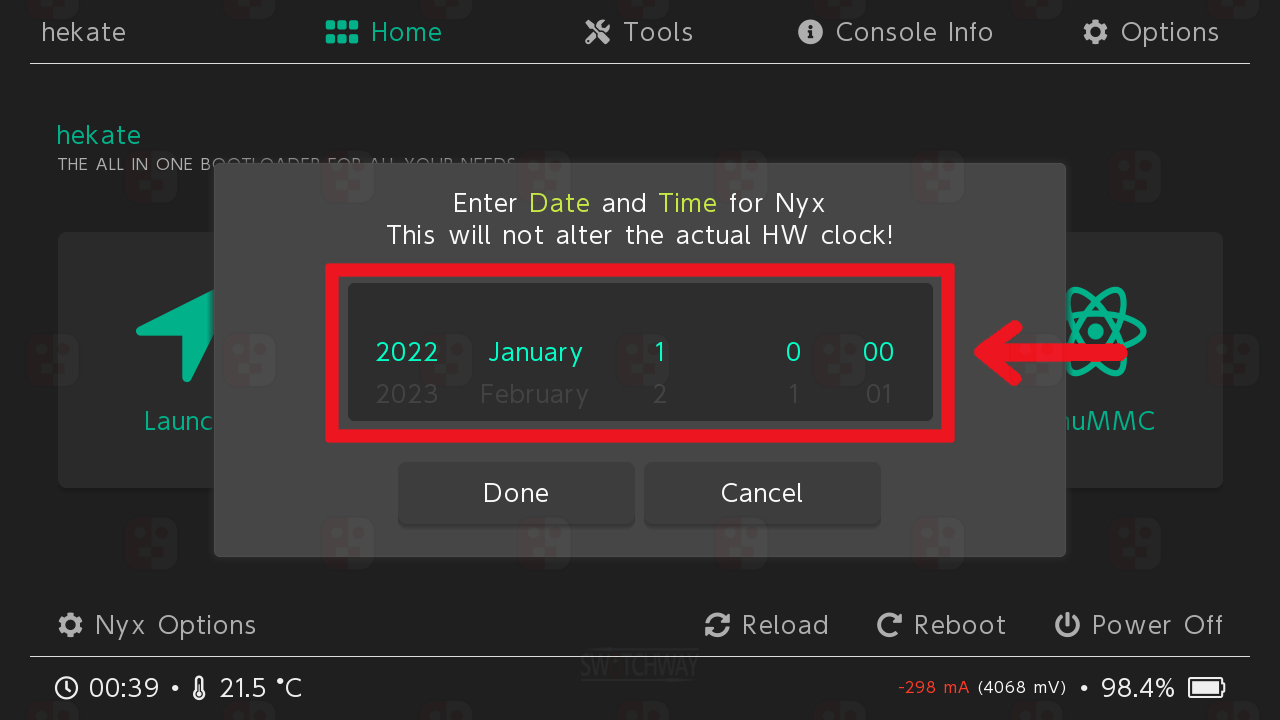
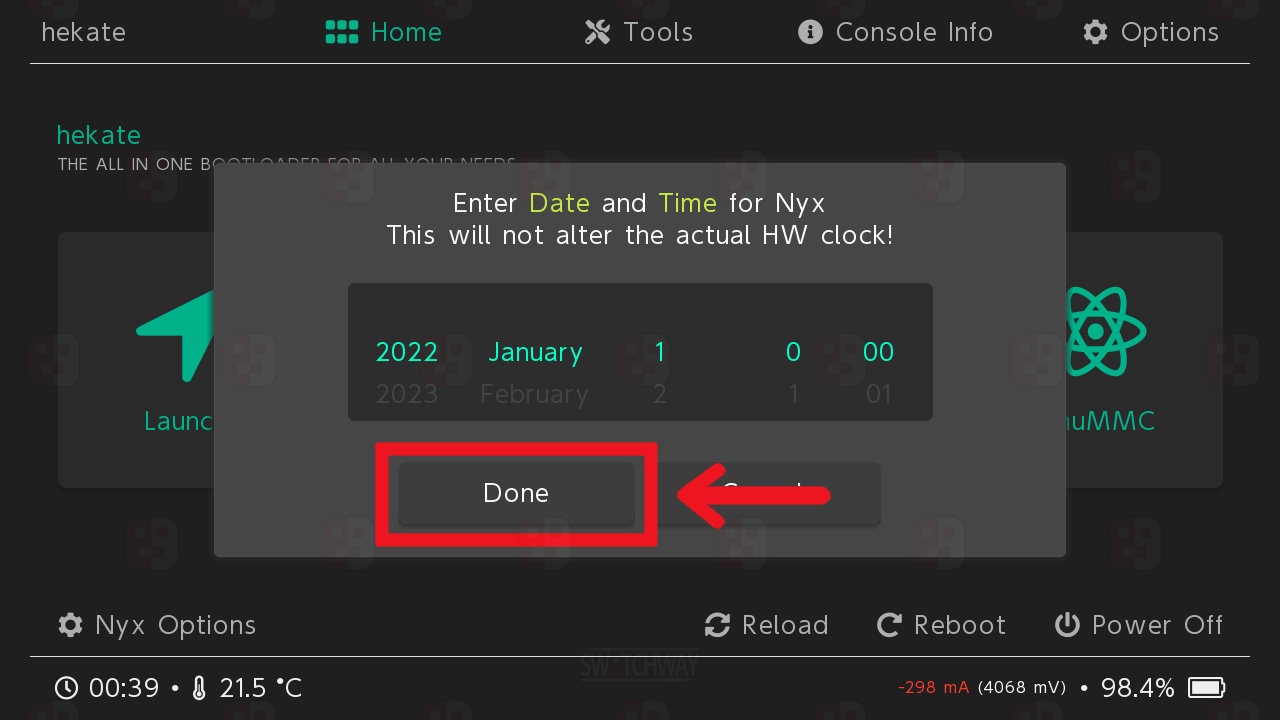
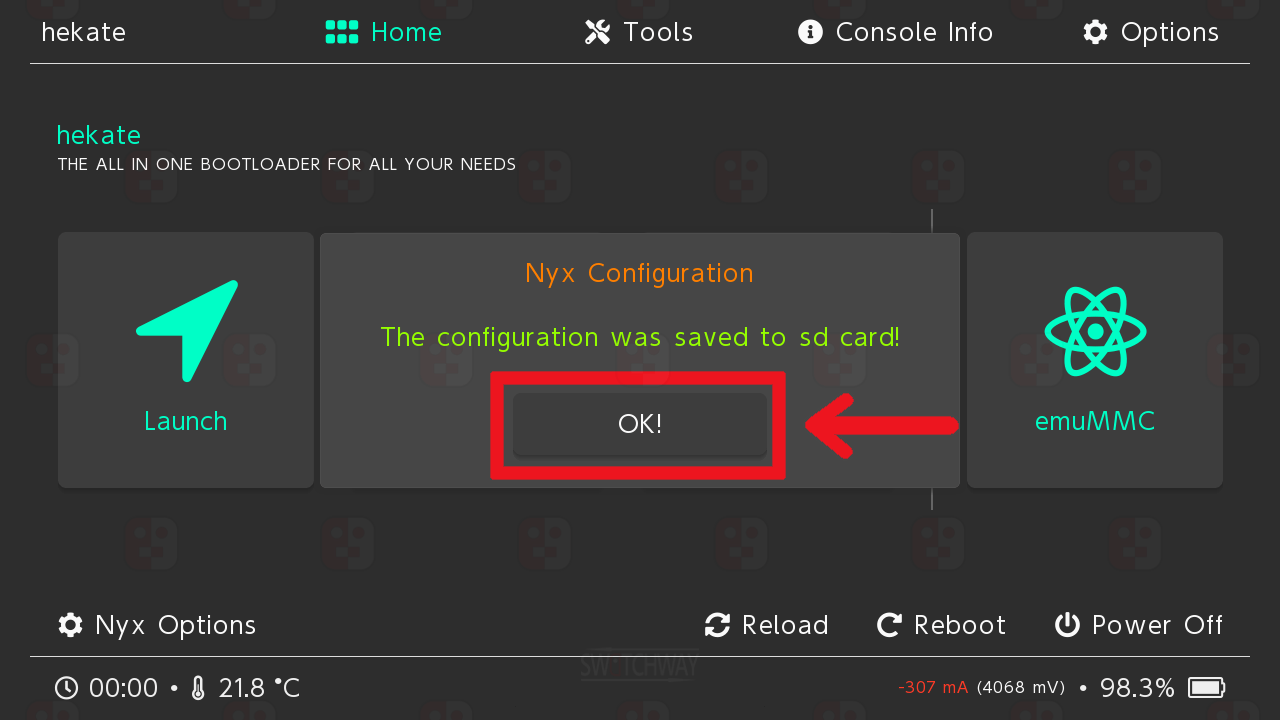
Set the Time/Date.
On the Hekate home screen, select Tools > Arch Bit • RCM • Touch • pkg1/2 > AutoRCM > OK.
AutoRCM will set to ON > select Home.
After powering off, tap the Power button and your Switch will be ready to inject a payload to. No need for a jig, or the button combo to enter RCM.
Disable AutoRCM
Boot into Hekate.
On the Hekate home screen, select Tools > Arch Bit • RCM • Touch • pkg1/2 > AutoRCM > OK.
AutoRCM will set to OFF > select Home.
Your Switch will no longer power on into AutoRCM. You will now need to use a jig in the right joy-con rail and the button combo to enter RCM before injecting.
Booting Stock/OFW
When AutoRCM is enabled you will need to boot into Hekate to launch OFW/Stock. There must be a Stock boot entry on your hekate_ipl.ini to do this.
Select Launch > OFW sysMMC Normal Stock (OFW on Device Memory).
Powering Off
To prevent battery drain you can still hold the power button for 15 seconds to fully shut down your Switch.
Doing this will not re-enter AutoRCM until you tap the power button again when you are ready to inject a payload.
Sleep Mode
Sleep Mode does not affect AutoRCM.
After A System Update
AutoRCM will get disabled if you update the system firmware in OFW/stock! You will need a jig to put your Switch into RCM before you can enable it again. AutoRCM can be preserved by updating whilst in Atmopshere CFW.
Charging After Battery Depletion
Don't allow your battery to fully deplete in AutoRCM.
Plug the official charger directly into the Switch.
Hold the power button for 15 seconds to ensure the Switch is powered off completely and not in AutoRCM.
Once you have inserted the charger and powered off completely you will need to charge the console for 20/30 minutes.
After charging for 20/30 minutes, tap the power button.
Quickly inject the latest Hekate payload and select a boot option.
Once booted, your Switch will now charge at normal speed if you reconnect the charger.
Hold the power button for 15 seconds to ensure the Switch is powered off completely and not in AutoRCM.
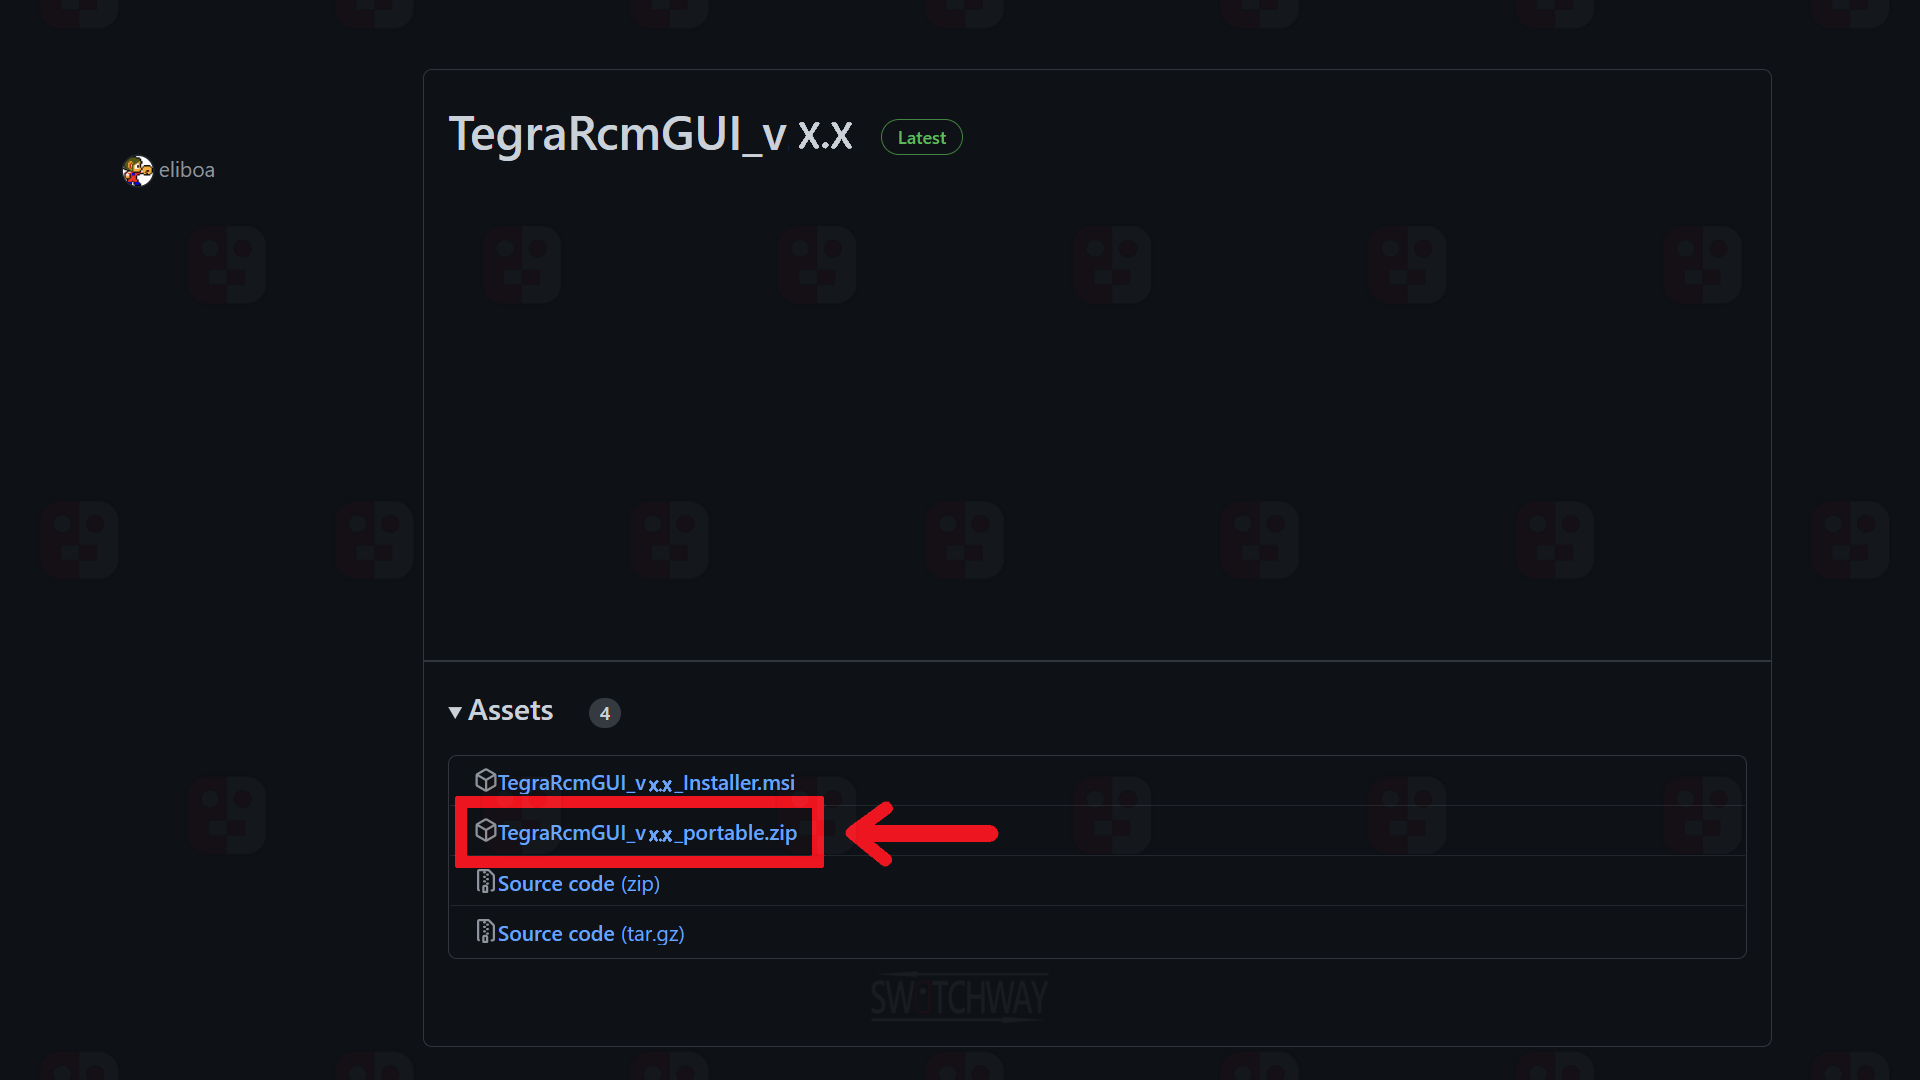
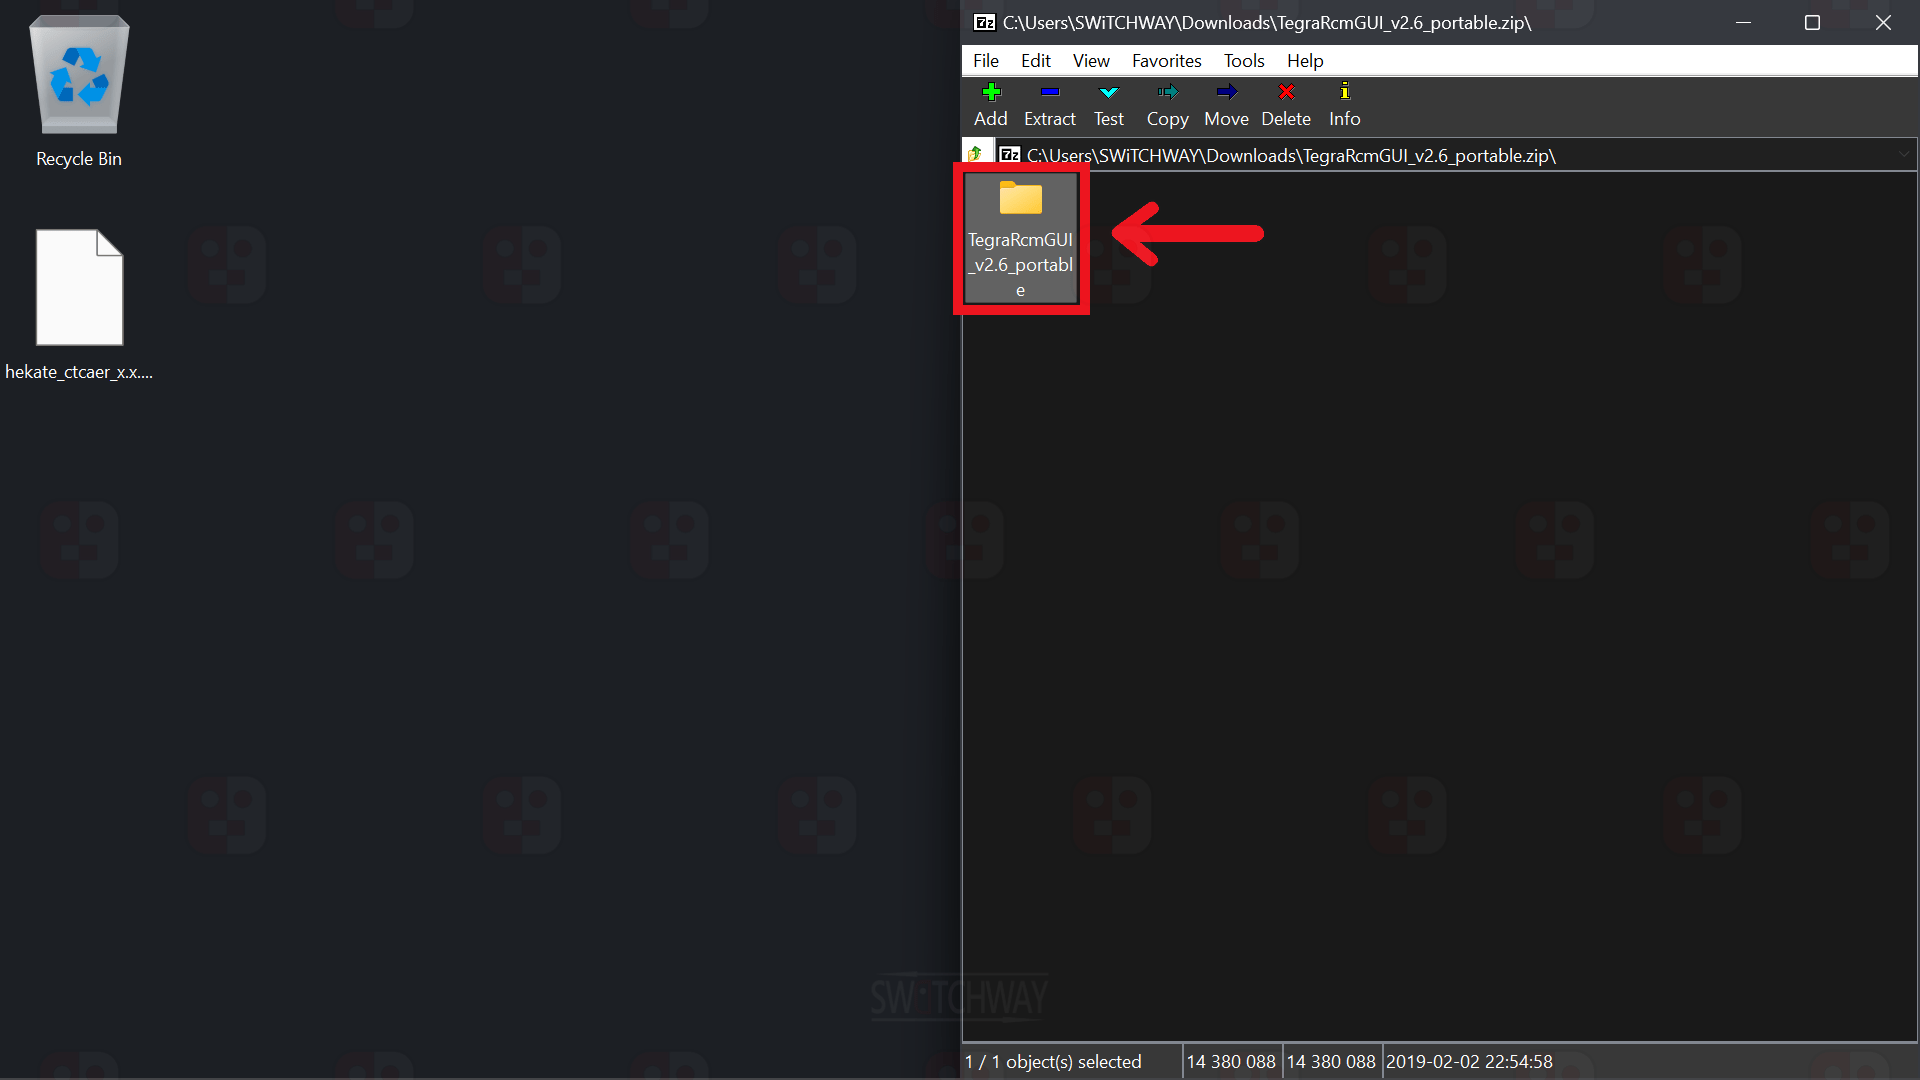
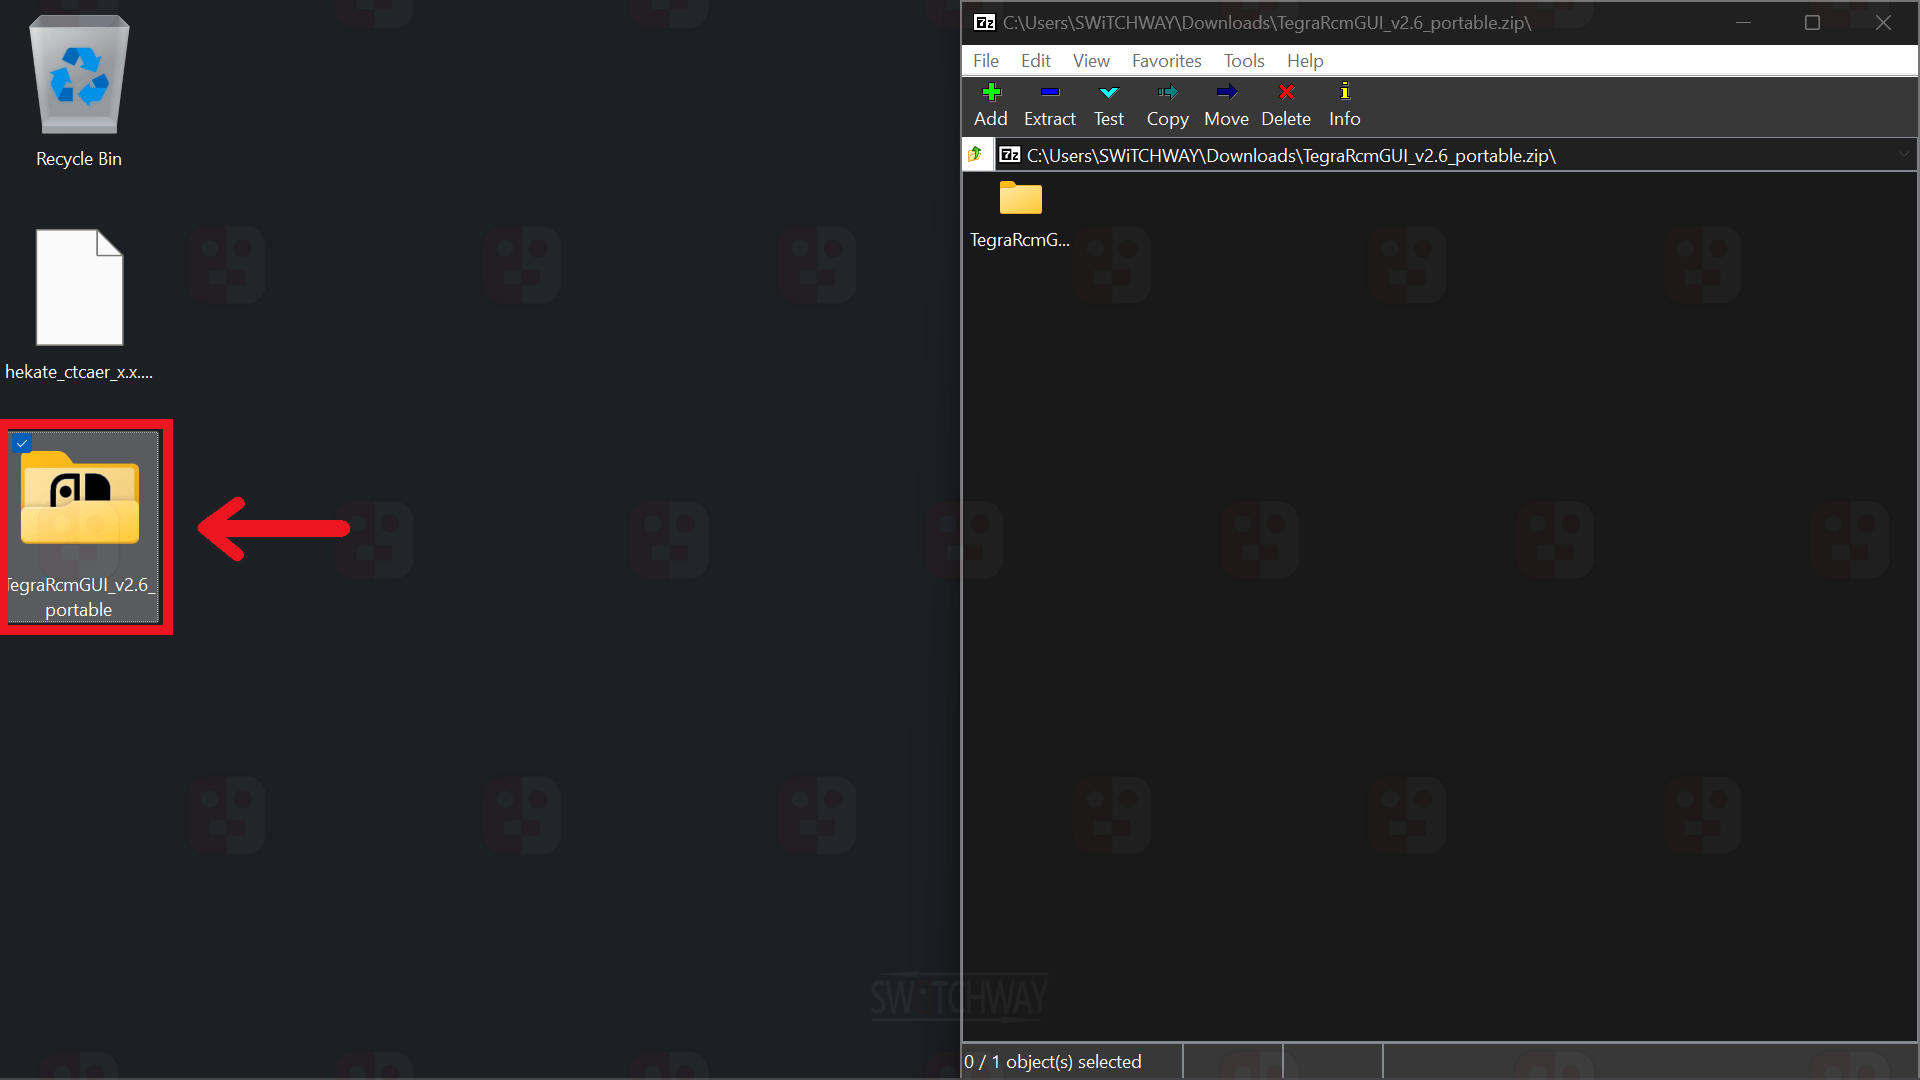
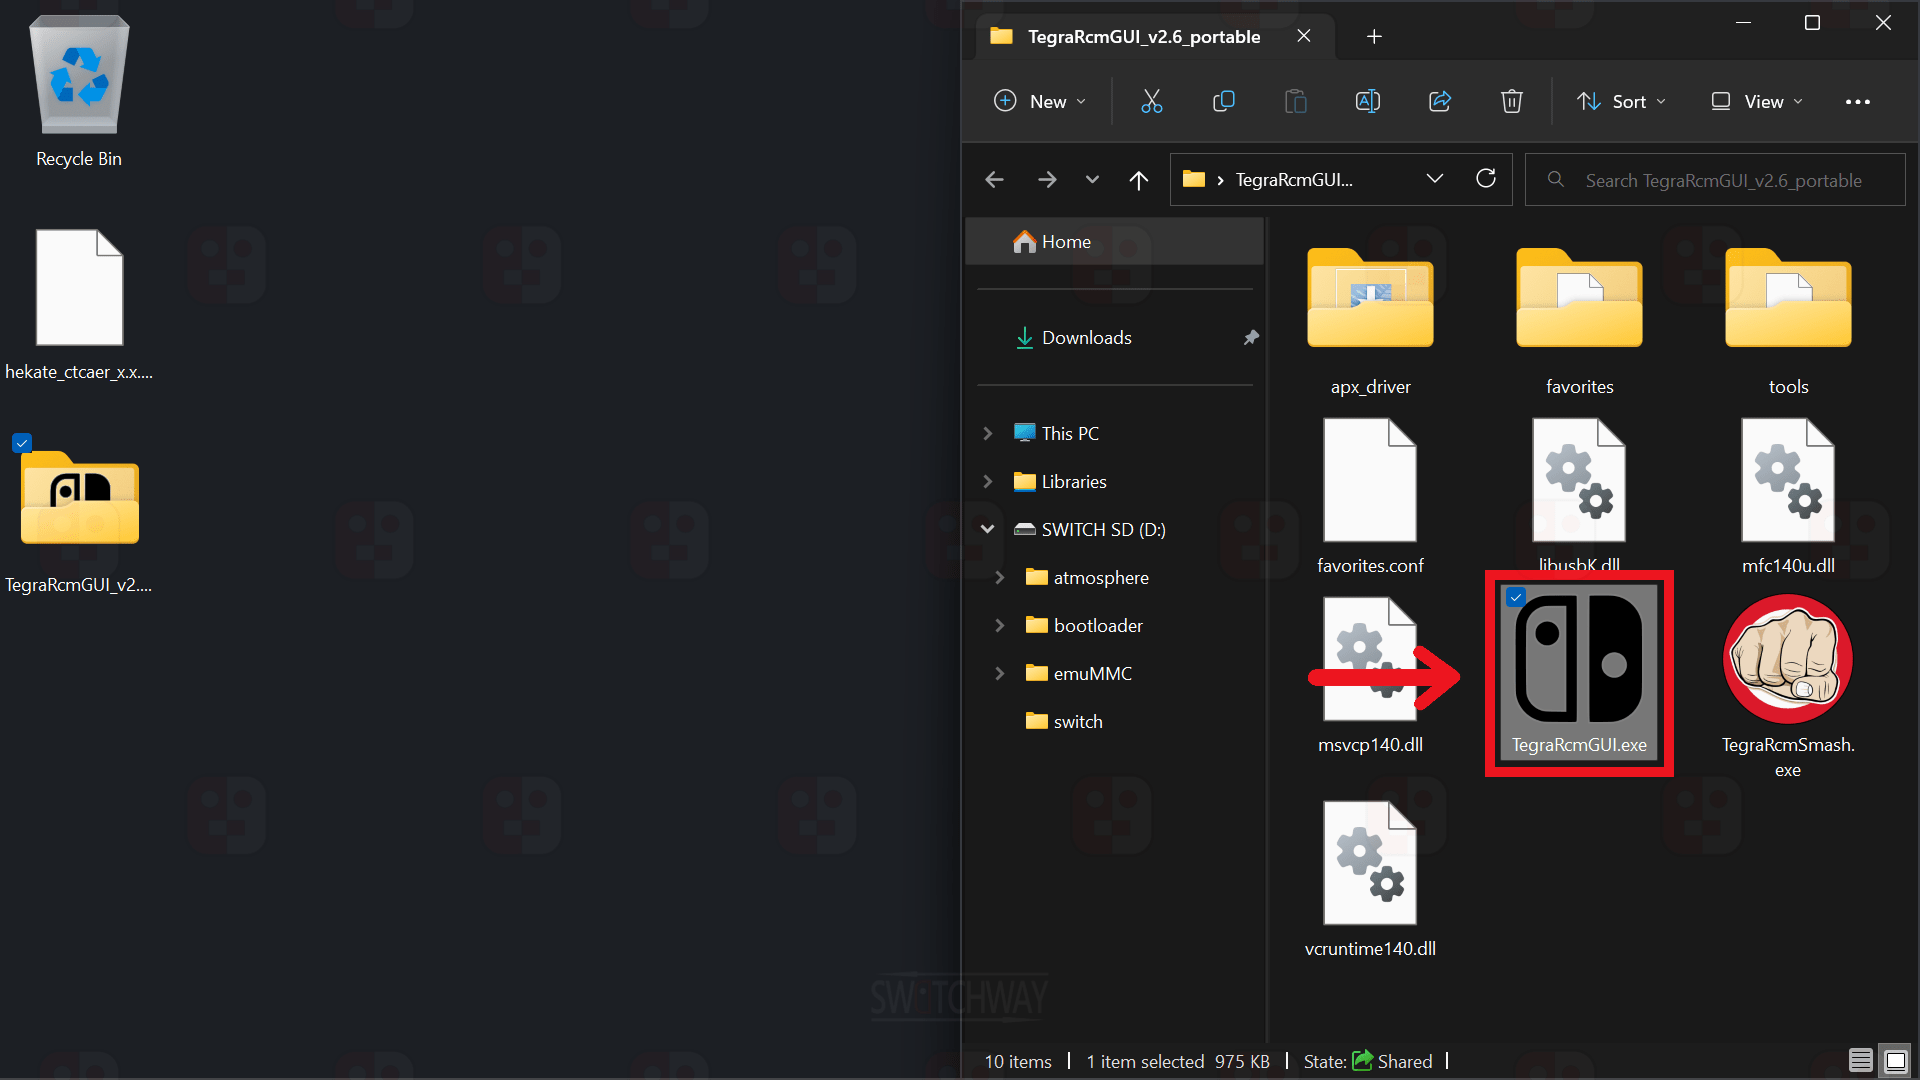
Open the TegraRcmGUI_vx.x_portable.zip and copy the TegraRcmGUI_vx.x_portable folder to your desktop. Open it and run TegraRcmGUI.exe.
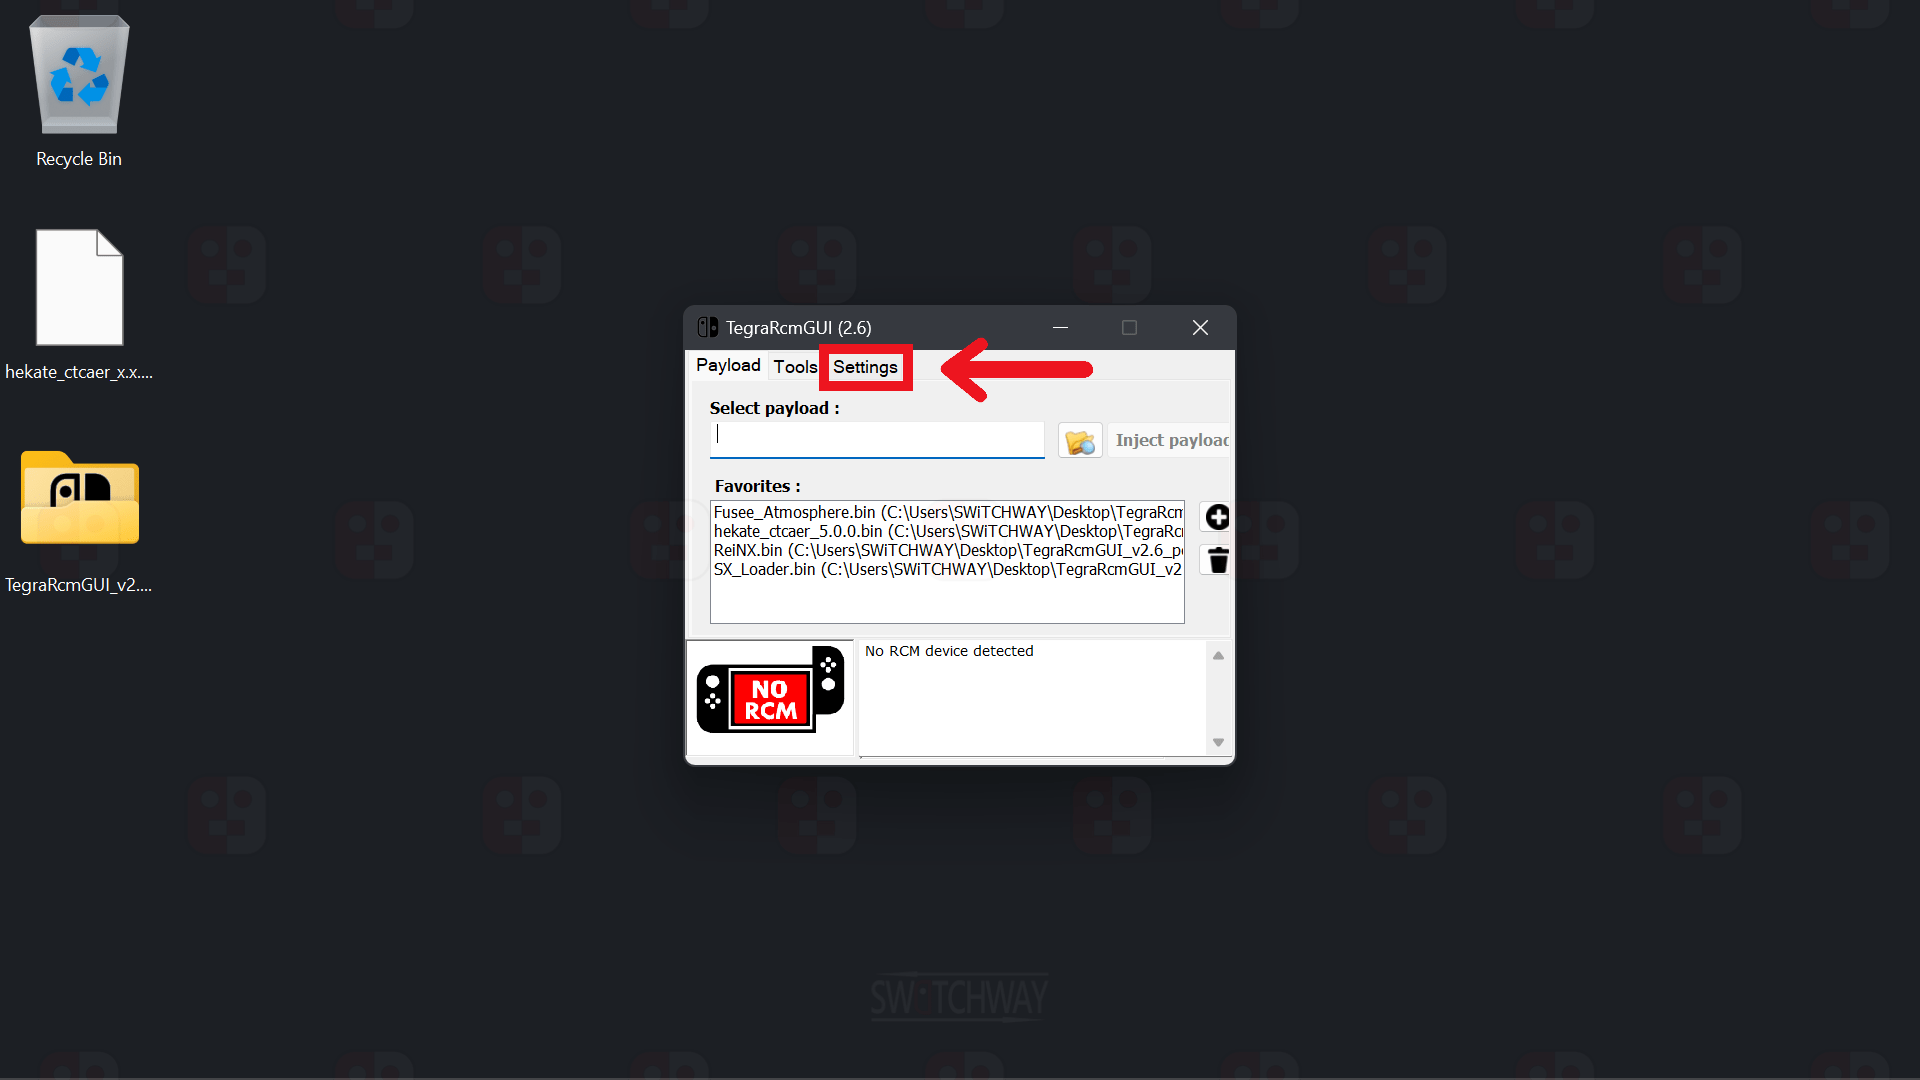
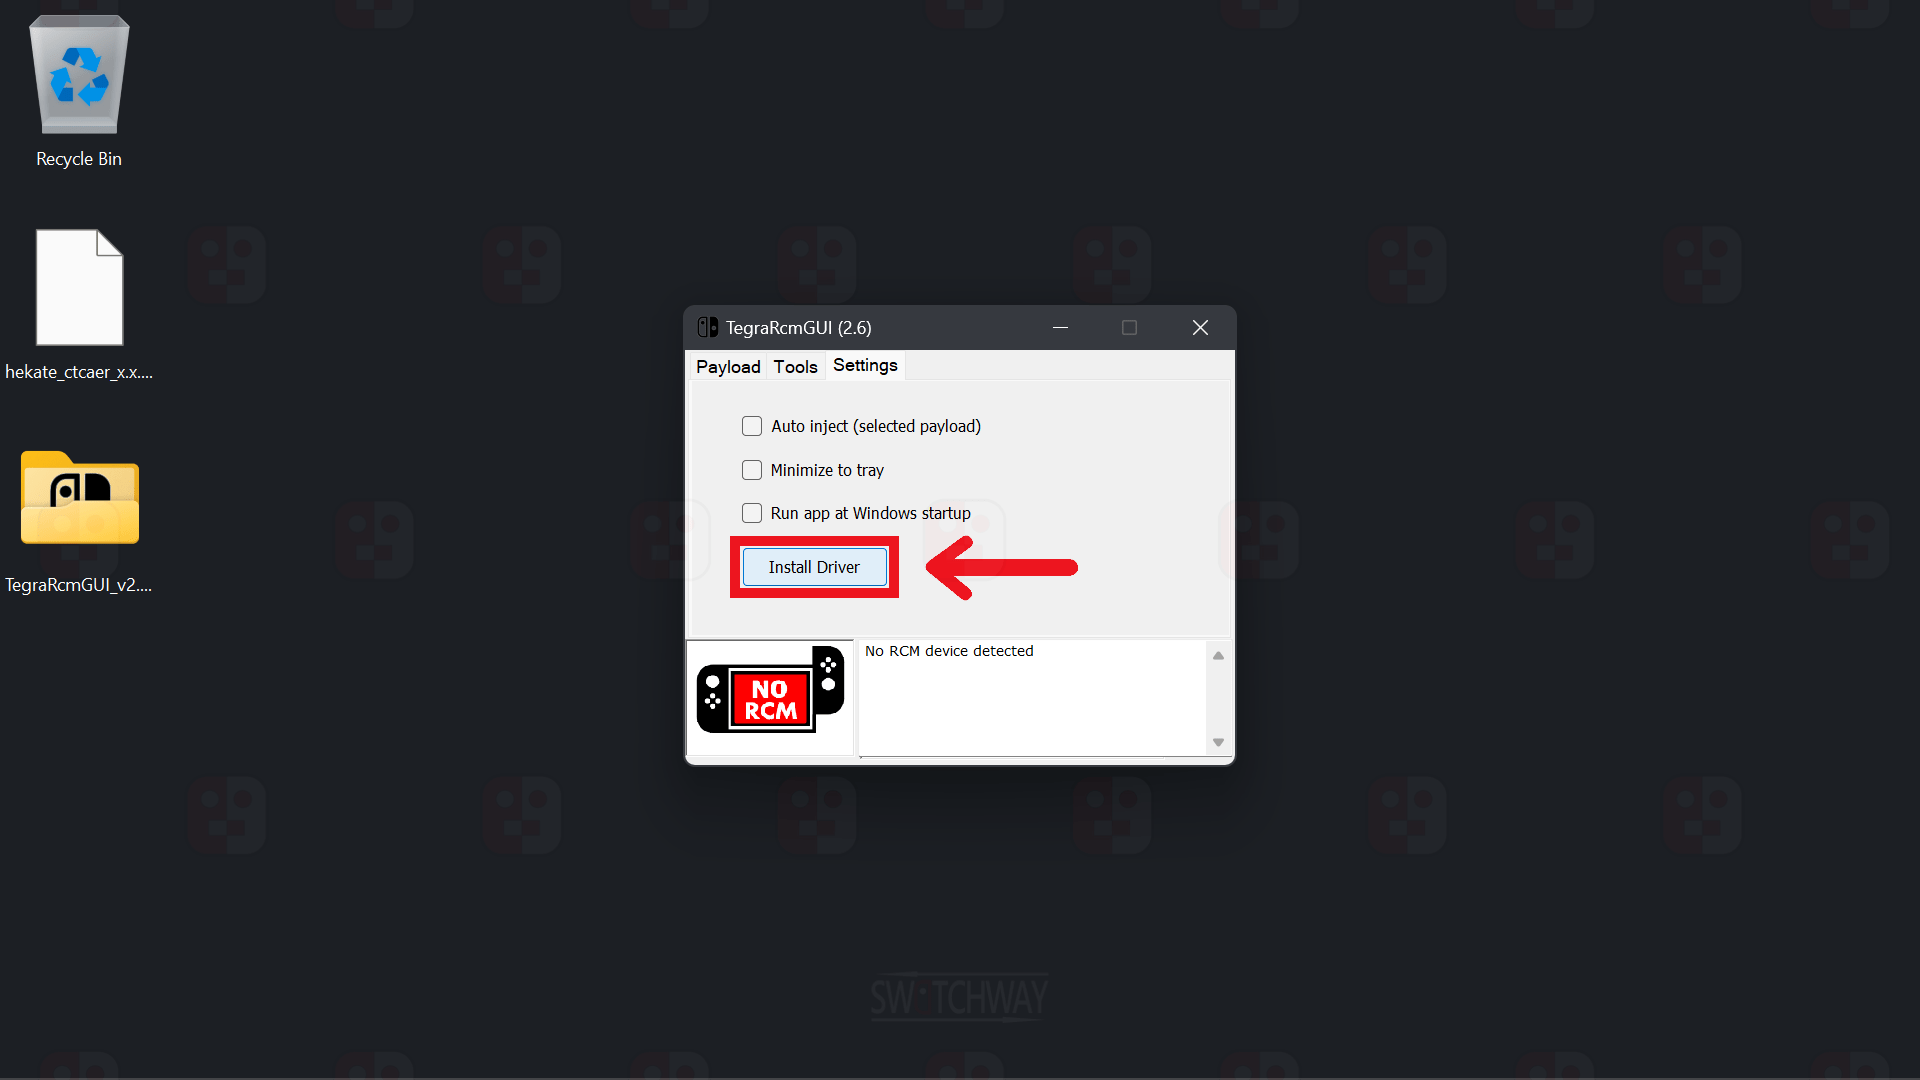
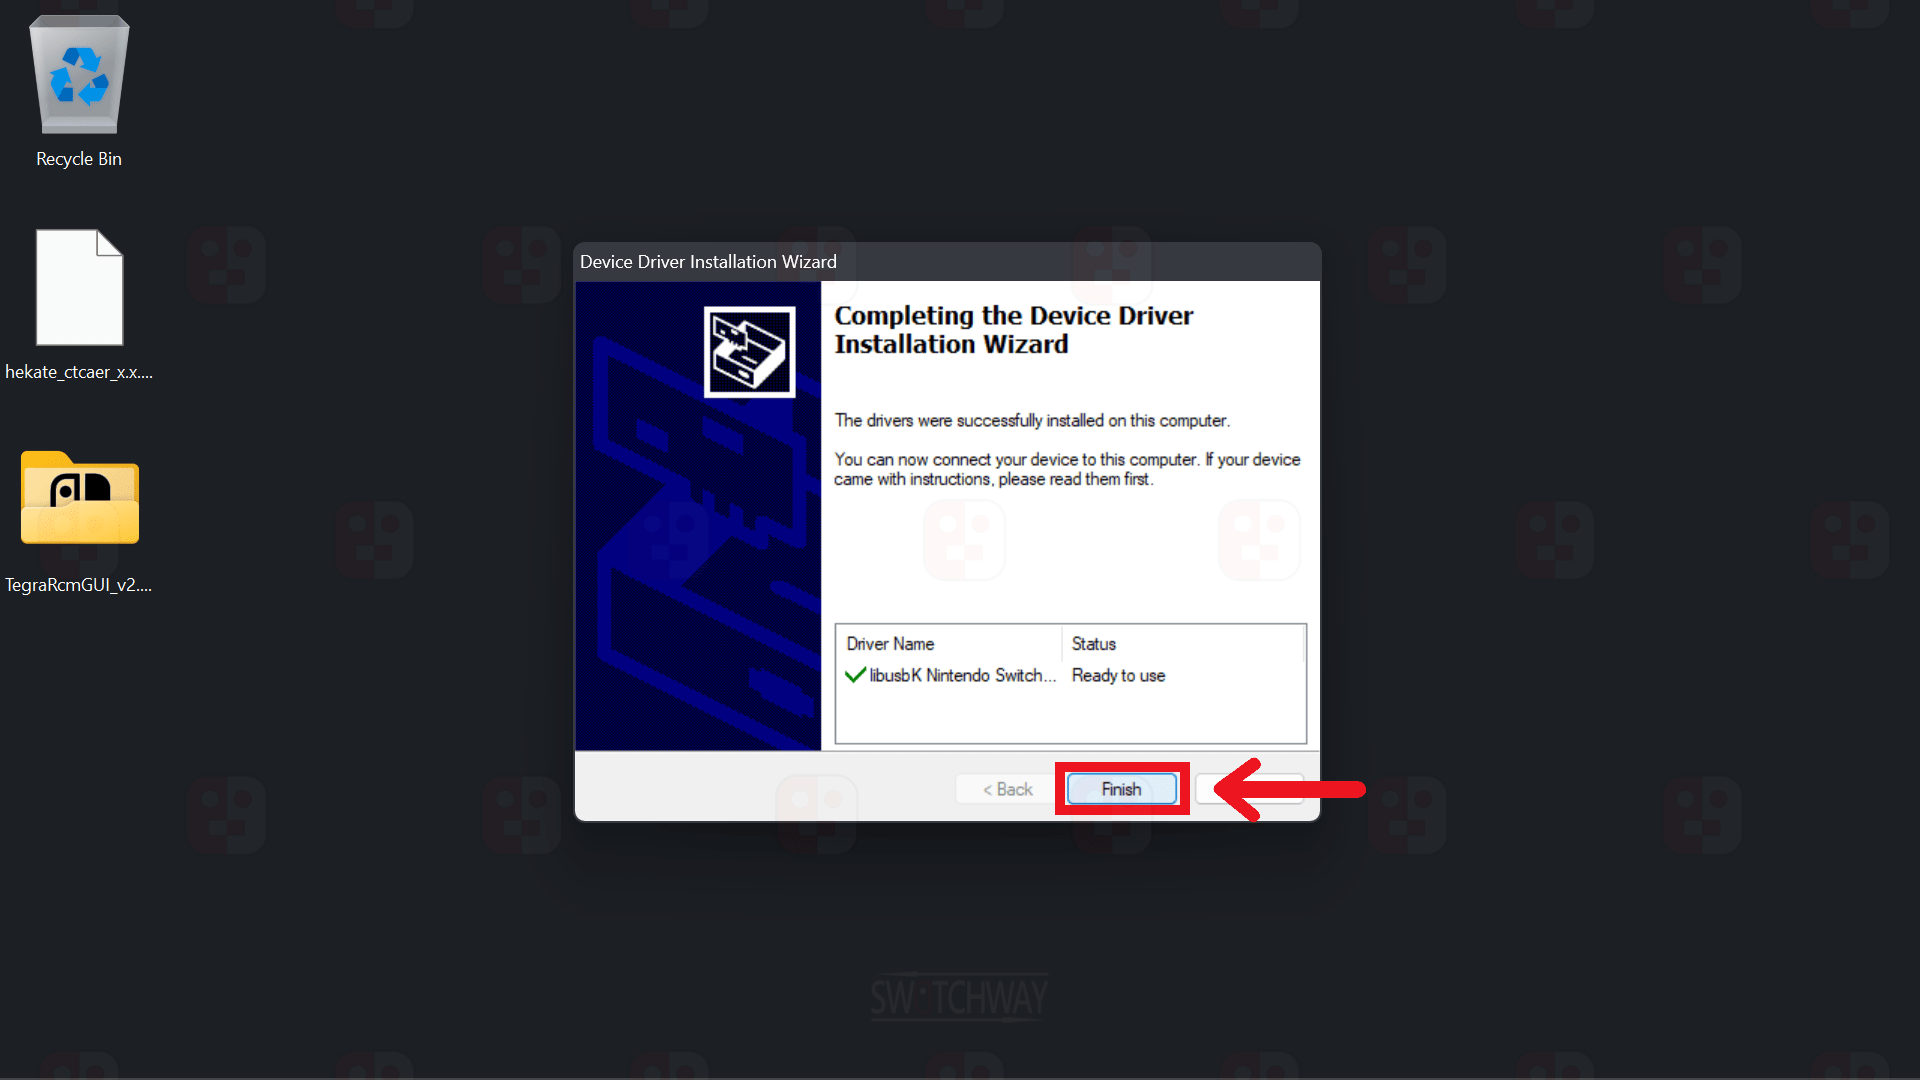
Go to Settings > Install Driver > follow the installer instructions to install the APX Device Driver.
Open the NxNandManager_vx.x_x64.zipand copy the NxNandManager_vx.x_x64 folder to your desktop. Open it and run NxNandManager_x64.exe.
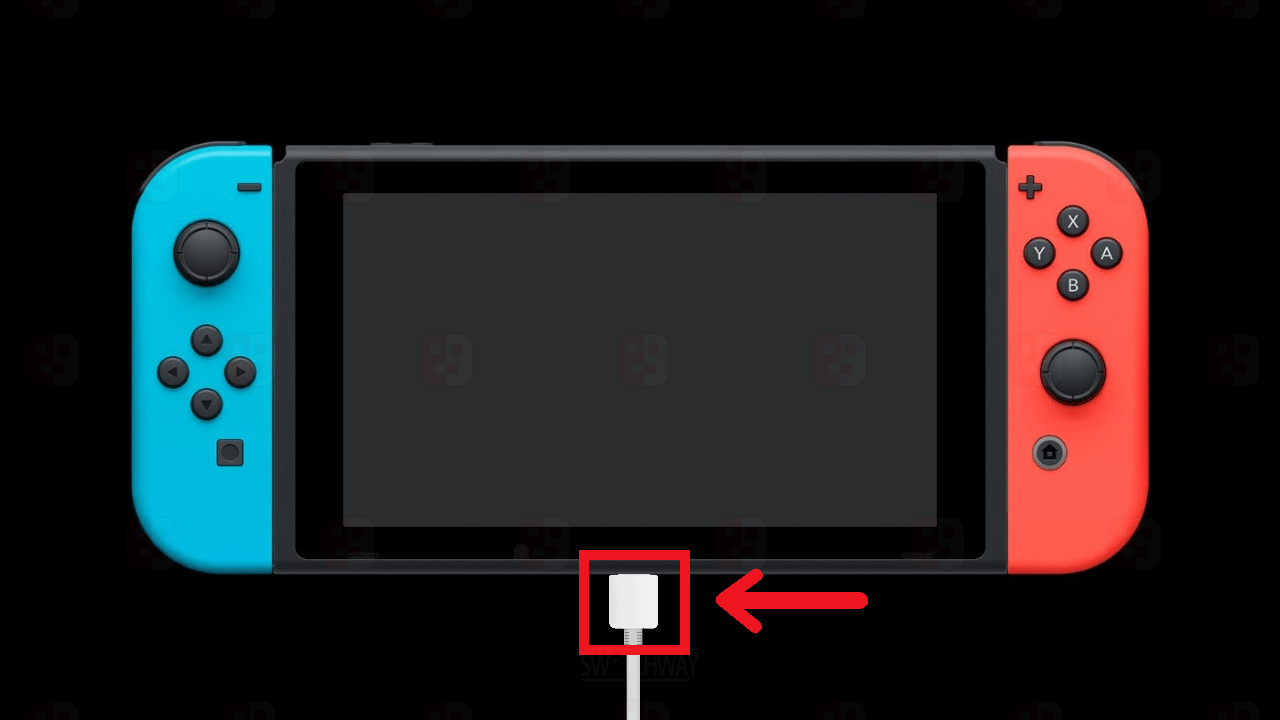
Connect your Switch to your PC using a USB cable. RCM O.K will be displayed in TegraRcmGUI.
In TegraRcmGUI Select Tools > Under Memloader, select the dropdown menu and select eMMC BOOT0 (Dangerous), then click the USB icon. A warning screen will pop up, click yes to accept.
In NXNandManager click File > Open drive and double click UMS disk 0 Linux (memloader).
Click on the Disable autoRCM icon under the Selected partition section to disable AutoRCM and click OK.
Hold the power button for 15 seconds to force shutdown. Your Switch will no longer power on into AutoRCM. You will now need to use a jig in the right joy-con rail and the button combo to enter RCM before injecting.
⚠️ Warning ⚠️Modifying your Switch is dangerous. It can lead to account bans, which will prevent you from accessing Nintendo's online services and can also lead to potential console bricks. If you decide to modify your Switch in any way, we take no responsibility for any damage you cause to your switch. If you have any questions, or need help getting started, you can join our discord server by clicking the link above.